Background
I was asked by a customer to help build a mobile app for reporting on inventory. Having no experience with Office 365 PowerApps, I figured the best way to learn the product is to build an app. As I stated in other blogs, my kids are big into sports. Each spring and fall seasons, I volunteer to coach my kid’s team. Part of coaching is drafting players to be on your team. Each season we are provided a printout containing players and a table to score attributes of each player. After the evals are completed, the scores are manually entered into Excel
Solution
I apologize in advance to any PowerApp expert, my app may not follow best practices.
A data source is required to create an app. In this blog, we are going to Excel as our data source.
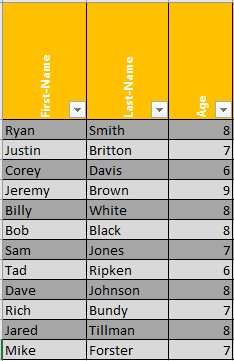
A new Excel spreadsheet, named Players.xlsx, is saved in my corporate OneDrive.

Within the Players spreadsheet, headers are added to a blank spreadsheet

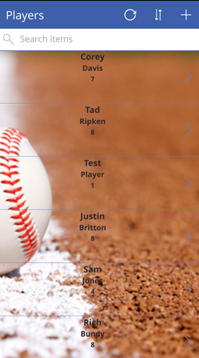
Once the headers have been added, I copied the list of players to the Players spreadsheet.
We are now ready to open PowerApps from Office 365. Select Apps and choose to Create an app

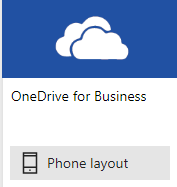
Select OneDrive for Business
Navigate to the Players spreadsheet

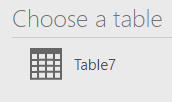
Choose your table
A new table will be presented
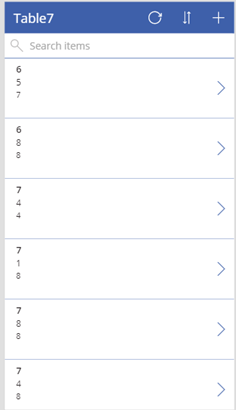
Highlight the table name and rename it to Players
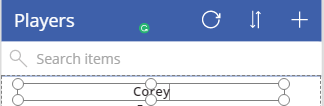
Add a new text box to your table by highlighting a text box and copying and pasting to text box to the table
Highlight the content of Table7 and select Data
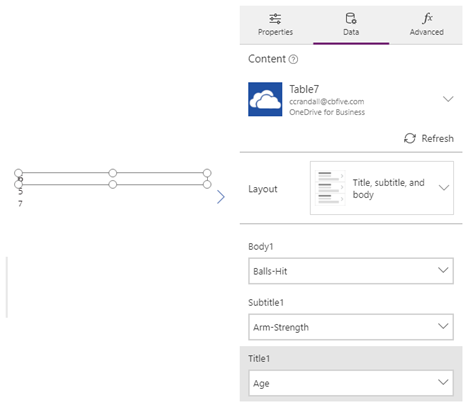
Change Body1_1 – Age
Change Body1 – Total-Score
Change Subtitle1 – Last-Name
Change Title1 – First-Name
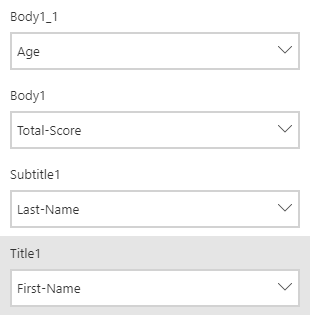
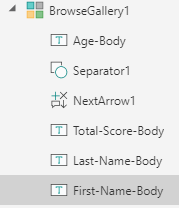
In the Screens windows, on the right, rename the following objects under BrowseGallary1
Change Body1_1 – Age-Body
Change Body1 – Total-Score-Body
Change Subtitle1 – Last-Name-Body
Change Title1 – First-Name-Body
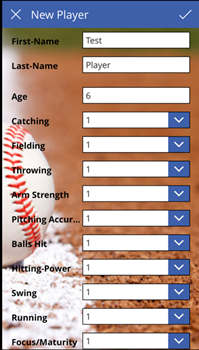
Double Click on the plus button

A new table will open
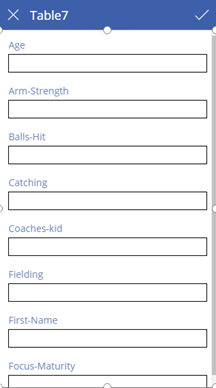
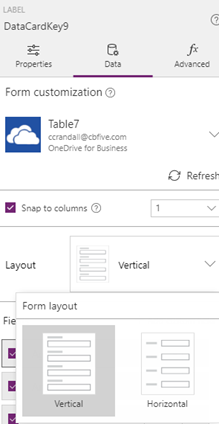
To change the layout, highlight the body of Table7, select Data, and change the layout to Horizontal.
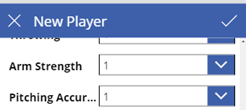
Rename the Table to New Player

Highlight the body of the table and select all the columns under fields
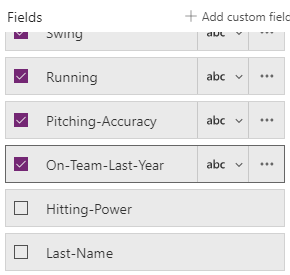
By select a Field, move a field up or down within the table

Select one of the Data Cards. Select Data > click abc > select Allowed Values

Click Advanced
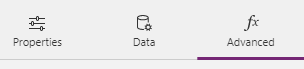
Click Unlock to change properties

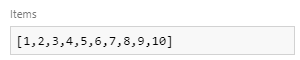
In Items type [1,2,3,4,5,6,7,8,9,10]
For Coaches Kid and On team last year add [“No”, “Yes”] to Items

Repeat these steps for all data cards but, First Name, Last Name, Age, Total Score, and Notes. I updated the color of each field.
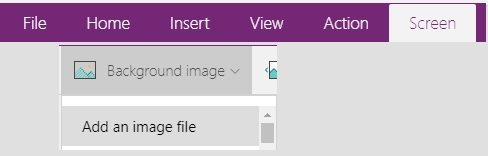
Select EditScreen1

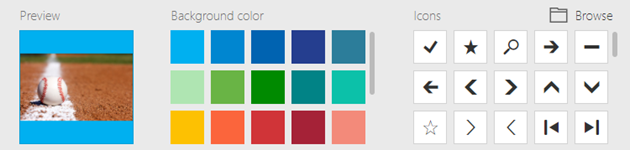
Select Screen > Background image > Add an image files
Choose your image

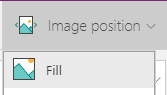
Change Image position to Fill

Click the X to return to the home screen
Click the Right arrow > to go to the detail screen
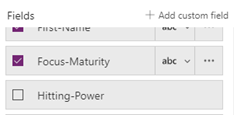
Enable all the fields
Perform the same steps to add the background picture

Click File > App Settings > Browse > Upload a new image
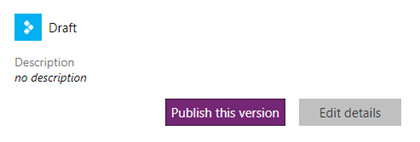
Now the app is ready to be saved and published. Click Files > Save
Click Publish this version and then Publish this version
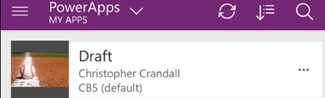
Download the PowerApps program to your mobile device and choose your application.
Results
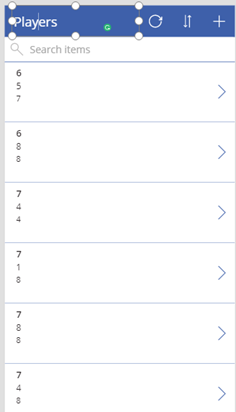
After the scores have been entered for each player, the results will be exported to the Excel file that was used as the data source for the app.
New player is added to the Excel spreadsheet.


Files
The PowerApps project, Excel Spreadsheet, and the baseball image can be downloaded here